
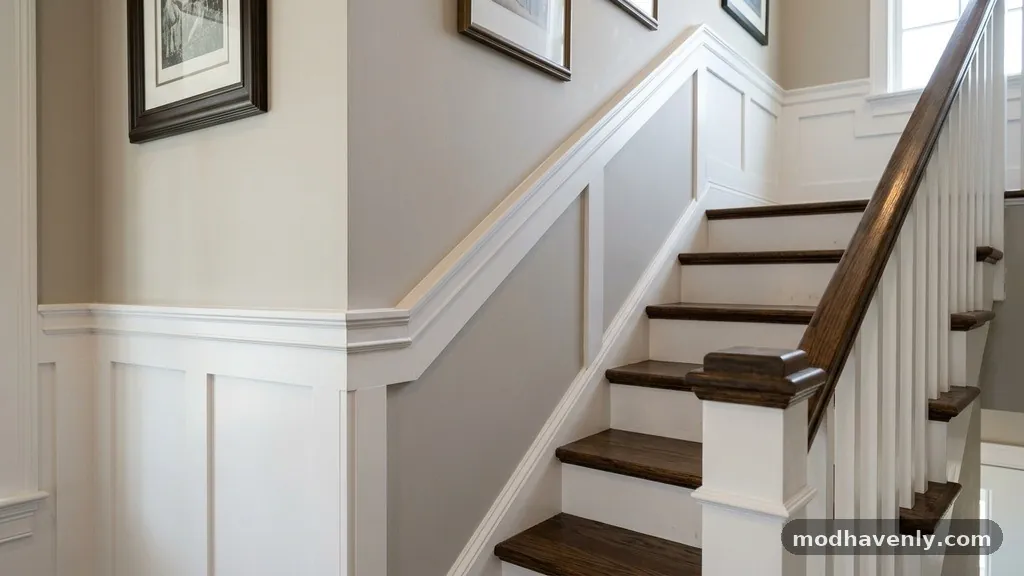
How to Transition Chair Rail Trim Down a Slanted Staircase Wall
Successfully transitioning Chair Rail Trim Down a Slanted Staircase Wall requires a blend of geometric precision and careful carpentry. When your molding moves from a flat horizontal plane in a hallway into the angled climb of a staircase, the profile of the wood must shift to maintain a consistent visual height.
This process involves calculating the rake angle of your stairs and executing complex miter cuts that allow the trim to meet perfectly at the corner. By mastering these specific angle adjustments, you ensure that your interior trim work looks professional, intentional, and architecturally sound throughout your home.
The Geometry of the Staircase Transition
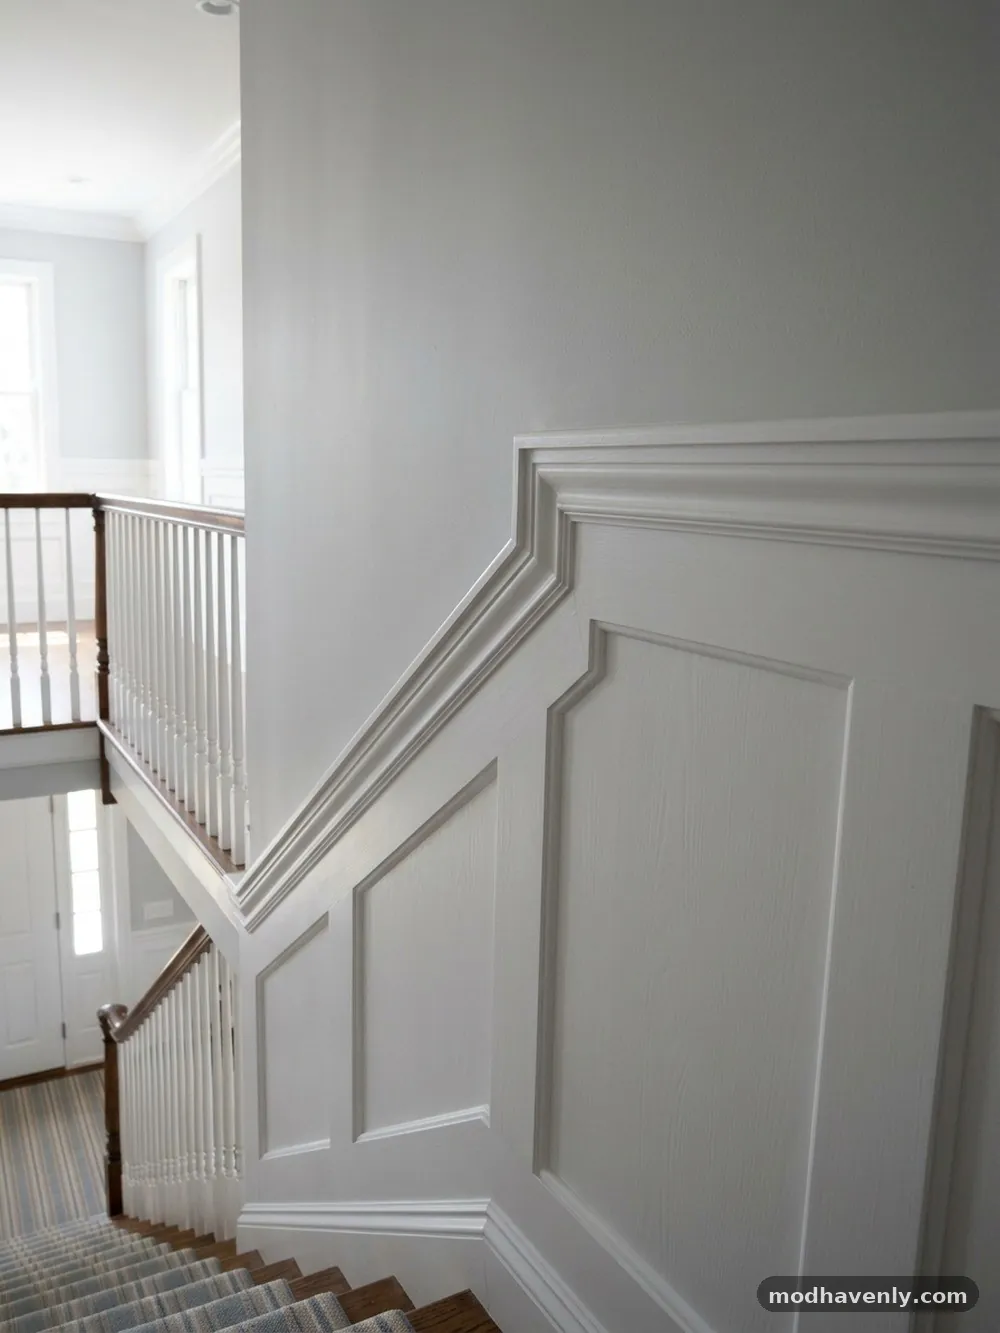
The primary challenge when transitioning chair rail trim down a slanted staircase wall is the change in orientation. On a flat wall, your chair rail sits at a standard height, usually between 30 and 36 inches from the floor.
As you reach the staircase, that horizontal line must suddenly pivot to follow the slope of the stairs. If you simply butt the boards together, you will create a noticeable gap that ruins the aesthetic of the molding.
To solve this, you must calculate the rake angle of your staircase. This is the angle at which your stairs climb relative to the floor.
Most staircases fall between 30 and 35 degrees, but you should always measure your specific setup. Use a digital protractor or a sliding T-bevel to capture the exact slope of the wall along the stringer.
Once you have this angle, you need to understand how it affects your miter cuts. When the rail turns from horizontal to slanted, the molding profile effectively gets “stretched” along the slope.
You are not just cutting a simple 45-degree corner; you are creating a transition piece that accounts for the change in plane. Failing to account for this change will result in a joint that looks twisted or misaligned.
Tools Required for Precision Cuts
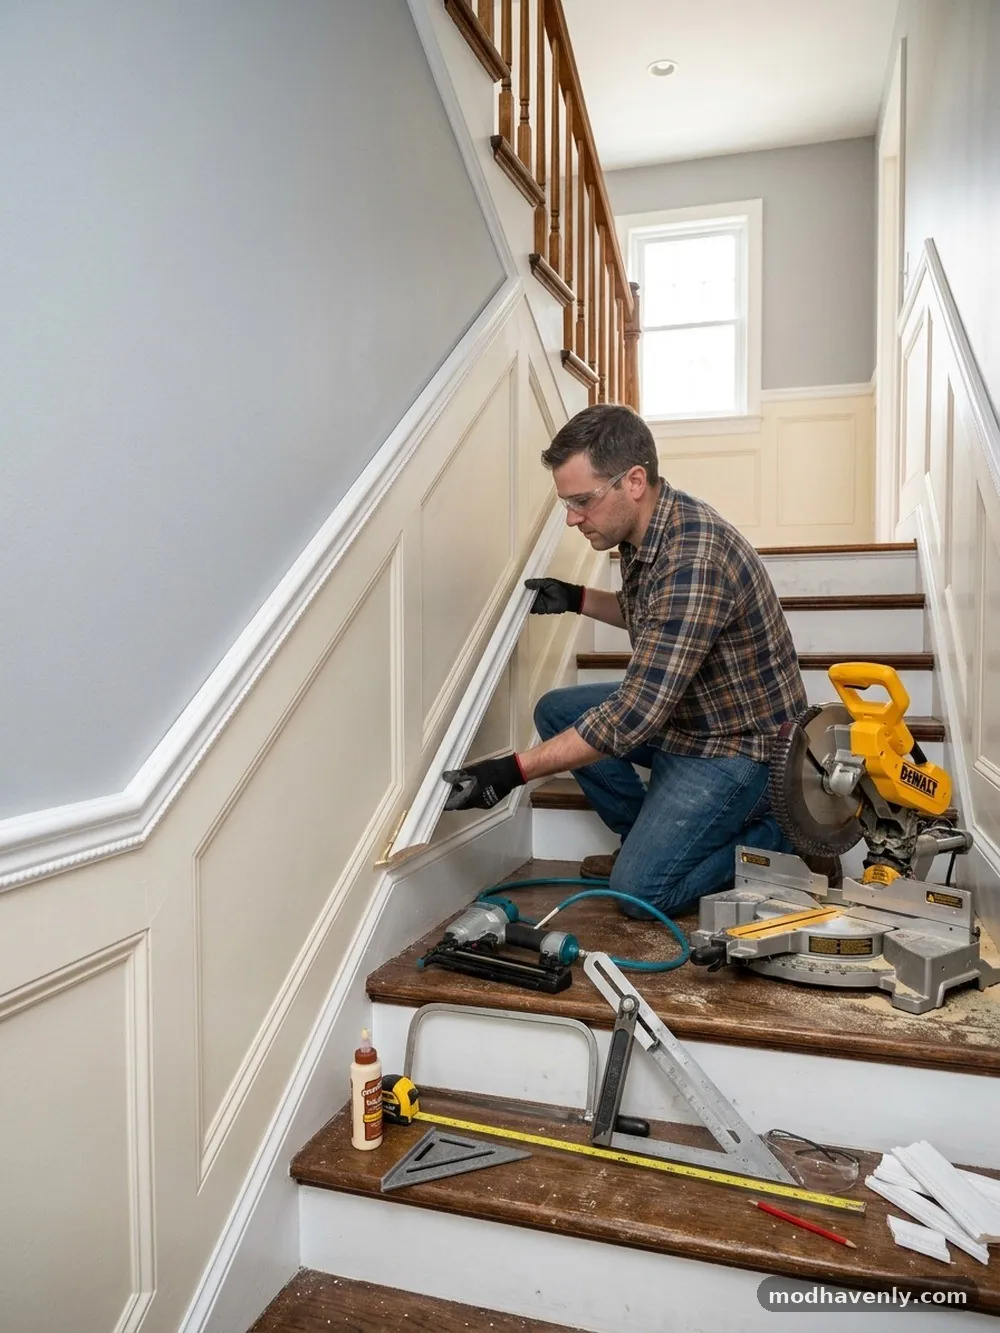
Executing these cuts requires more than just a standard miter saw. While a basic saw can handle simple 90-degree joints, the compound angles required for stair transitions demand a higher level of accuracy.
You will need a compound miter saw that can bevel and miter simultaneously. This allows you to cut the molding while it sits in the orientation it will eventually occupy on the wall.
High-quality measuring tools are also non-negotiable for this project. A digital angle finder will save you hours of trial and error by giving you a precise numerical readout of your wall’s slope.
You should also have a set of high-quality coping saws or a specialized wood rasp on hand. Even with the best saw, you will likely need to fine-tune the fit of your joints by hand to ensure they are tight.
Consider the following essential list of items for your toolkit:
Measuring and Marking the Wall
Before you cut a single piece of wood, you must map out your path on the wall. Start by marking the desired height of your chair rail on the flat wall section.
Use a level to ensure this line is perfectly horizontal, as any deviation here will be magnified once you reach the stairs. When you reach the start of the staircase, you must switch your reference point.
Instead of measuring from the floor, measure from the nosing of each stair tread. This ensures that the chair rail maintains a consistent distance from the stairs throughout the entire flight.
If you don’t maintain this distance, the molding will look like it is drifting toward or away from the steps. Use a long straightedge or a chalk line to connect these points, creating a clear guide for your installation.
It is helpful to hold a scrap piece of molding against the wall at the transition point. This helps you visualize how the profile will look as it moves from the horizontal plane to the slope.
If you notice the profile seems to “collapse” or become distorted, you may need to adjust your transition point by an inch or two. This is the stage where you identify potential issues before they become permanent mistakes.
Calculating the Transition Joint
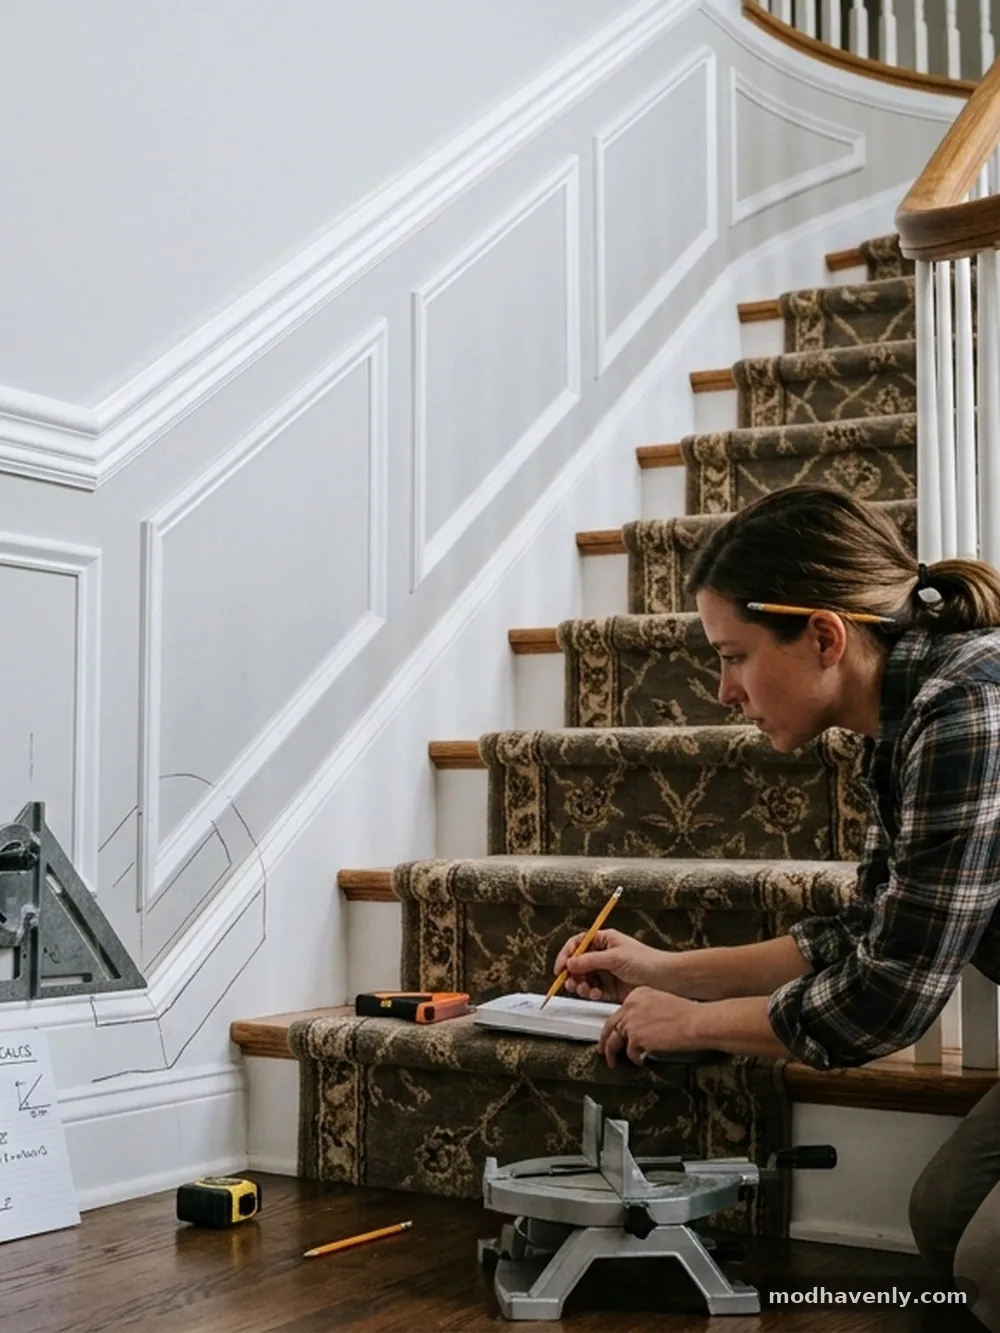
The transition joint is the most critical part of the entire project. You are essentially creating a bridge between two different geometric planes.
To do this, you must cut the horizontal piece and the slanted piece so that they meet at the corner. This is often done using a “scab” or a small transition block if the angles are too extreme for a direct miter.
However, for most standard moldings, a direct miter is possible if you know the math. You need to divide the angle of the stairs by two to find your miter setting.
For example, if your stairs climb at 34 degrees, your miter cut will involve half of that angle plus or minus the standard 45-degree orientation. This creates a balanced joint that masks the change in direction.
Always cut your pieces slightly long, especially when working with expensive trim. It is much easier to shave off a millimeter of wood with a sanding block than it is to add material back to a board that is too short.
Test your angles on scrap pieces of pine or MDF before cutting into your final finish material. This practice will save you time and money, especially if you are working with hardwood.
Installing the Transition Block
Sometimes, the transition between a horizontal wall and a staircase is too visually jarring to handle with a simple miter. In these instances, many professional carpenters opt to install a transition block.
This is a small, square piece of trim that acts as a buffer between the horizontal rail and the slanted rail. It allows both pieces to butt into the block, hiding the complex geometry behind a clean, decorative element.
Transition blocks are particularly useful if your staircase has a landing or a change in direction. They provide a natural stopping point for the eye and simplify the cutting process significantly.
You can buy premade blocks that match standard molding profiles, or you can create your own using a block of matching wood. This adds a level of architectural detail that looks intentional rather than like a fix for a difficult corner.
To install a transition block, ensure it is plumb and level. You will want to secure it firmly to the wall studs, as this is a high-traffic area where people might accidentally bump the trim.
Once the block is in place, you can cut your rail pieces to butt against it. This method is much more forgiving than attempting a complex miter, and it often results in a cleaner, more professional appearance.
Handling Different Molding Profiles
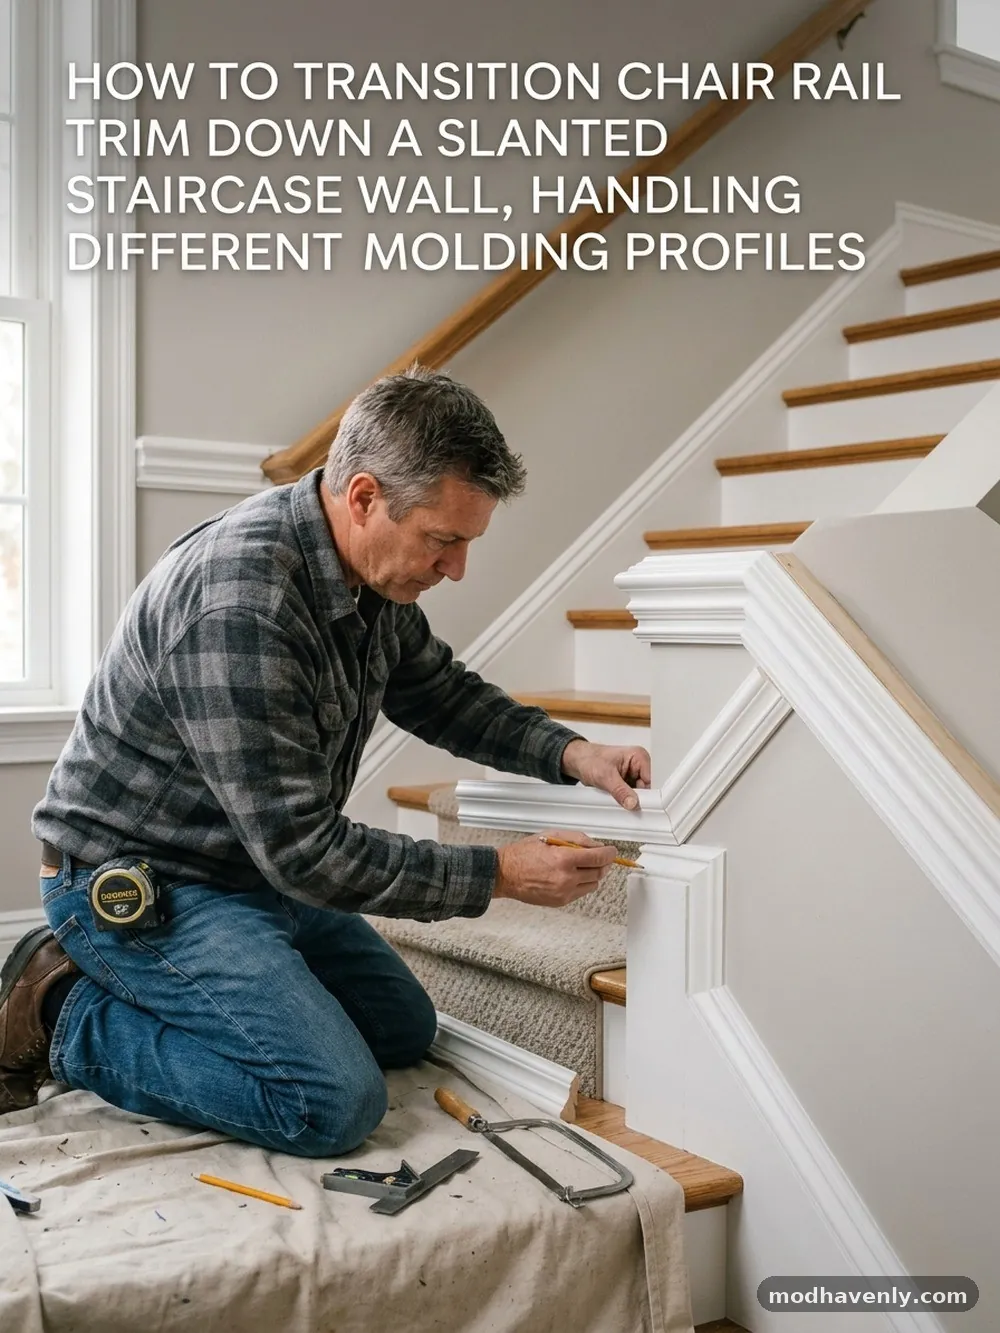
Not all chair rails are created equal. Some profiles are simple and flat, while others are ornate, rounded, or deeply recessed. The more complex the profile, the harder it is to transition it down a slanted wall.
Ornate moldings have “coves” and “beads” that must line up perfectly across the joint. If these features are off by even a fraction of an inch, the eye will notice it immediately.
If you are working with a highly decorative molding, consider using a coping cut. Coping involves cutting the profile of one board to match the face of the other.
This creates a much tighter fit than a standard miter, and it is less prone to opening up as the wood expands and contracts with changes in humidity. While it takes more time, the result is a superior joint that looks custom-built.
For very complex profiles, you might need to use a combination of techniques. Use a miter for the general angle, then use a coping saw to refine the intersection of the decorative beads.
This “hybrid” approach is the hallmark of high-end finish carpentry. It ensures that your transition looks like a single, continuous piece of wood flowing down the staircase.
Material Considerations for Staircase Trim
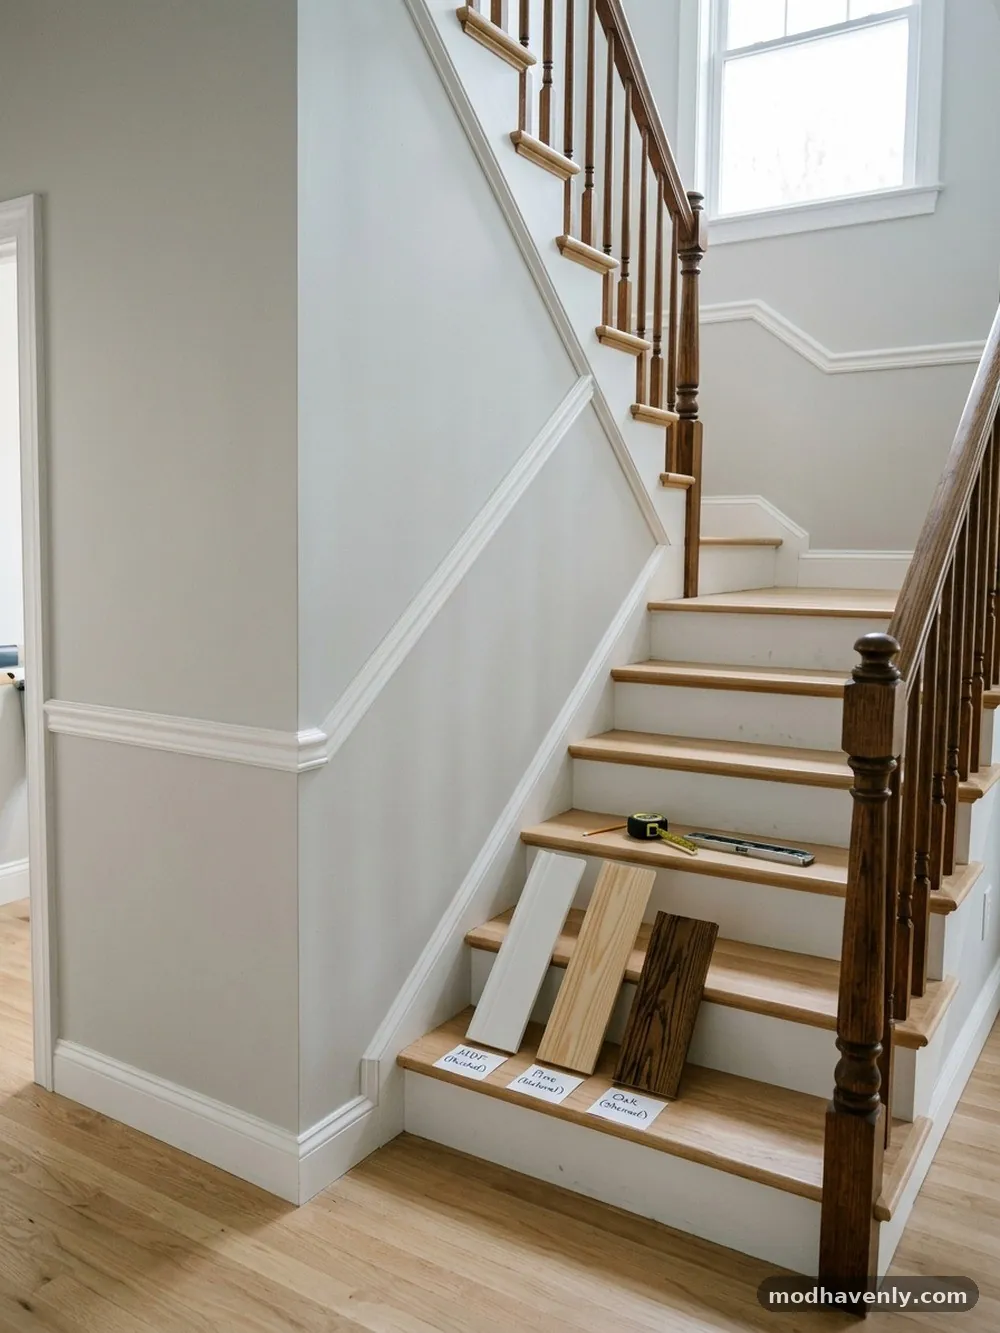
The type of wood you choose for your chair rail will impact how it behaves during the installation process. Softwoods like pine are easy to cut and shape, but they are prone to denting and can be difficult to finish smoothly.
Hardwoods like oak or maple are more durable, but they require sharp blades and more patience during the cutting process. MDF is a popular choice for painted trim, as it is consistent and easy to work with.
When working with MDF, be aware that it can be brittle at the corners. If you are making precise miter cuts, ensure your saw blade is not dull, or you will end up with frayed edges that are difficult to hide.
If you are staining your wood, pay close attention to the grain orientation at the joint. A miter cut will often expose different grain patterns, which can look awkward if not stained carefully.
Consider the following table to compare common materials used for stair trim:
| Material | Durability | Ease of Cutting | Best Use Case |
|---|---|---|---|
| Pine | Moderate | High | Painted or stained rustic interiors |
| MDF | Low | Very High | Painted trim on a budget |
| Oak | High | Low | High-traffic areas with stain finish |
| Poplar | Moderate | Medium | Professional-grade painted finish |
Managing Expansion and Contraction
Wood is a living material that responds to the environment. In a home, temperature and humidity fluctuations cause wood to expand and contract.
This is particularly problematic at joints where two boards meet. If you glue your miter joints too aggressively, the wood may crack as it tries to move.
To mitigate this, use a flexible adhesive or a specialized trim glue that allows for a small amount of movement. Always finish your trim with a high-quality primer and paint or a stable wood finish.
This helps seal the wood and reduces the rate at which it absorbs or releases moisture. You can find more information on wood movement from the USDA Forest Products Laboratory regarding the physical properties of wood.
When installing, try to avoid fastening the boards too close to the mitered end. Give the wood a little room to breathe near the joint.
If you are working in a climate with extreme seasonal changes, consider using a slightly larger gap at the joint and filling it with a high-quality, flexible caulk that can stretch without cracking. This ensures your staircase transition remains looking great for years to come.
Finishing Touches for a Professional Look
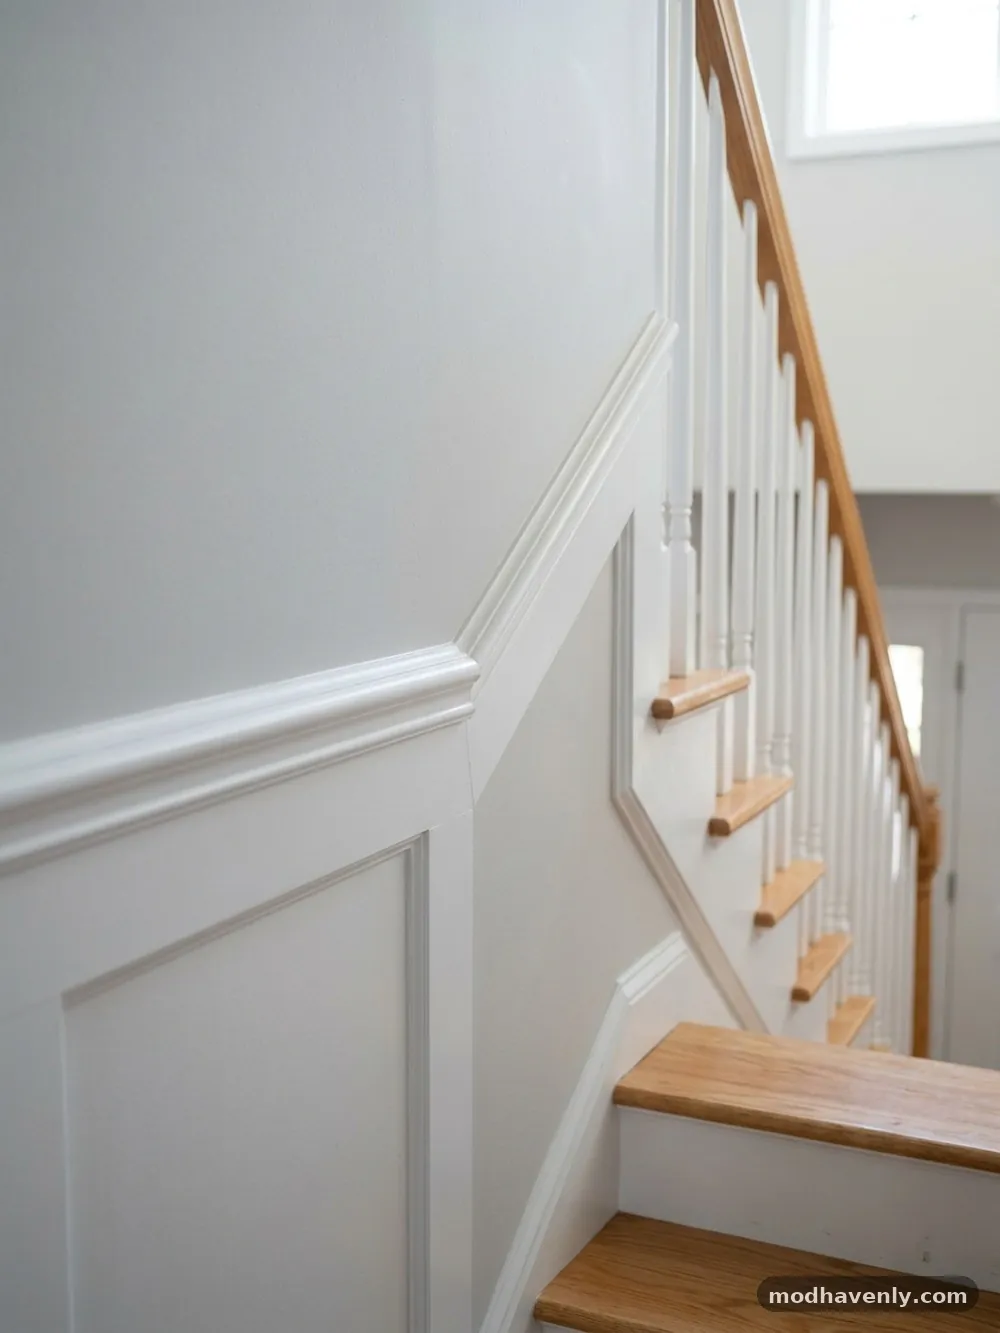
Once your chair rail is installed, the final step is finishing. This is where you hide the minor imperfections that inevitably occur during the cutting process.
Use a high-quality wood filler for your nail holes and any small gaps at the joints. Sand the filler flush with the wood surface once it has fully dried.
If you are painting the trim, use a high-quality caulk to seal the gap between the molding and the wall. This makes the trim look like it is part of the architecture of the house rather than an add-on.
For the joints themselves, a tiny bead of caulk can disguise a slightly imperfect miter. Just be sure to wipe away the excess immediately with a damp cloth.
Don’t forget to sand the entire piece before applying your final coat of paint or stain. Even if the wood looks smooth, a light sanding will remove any small splinters or rough patches from your cuts.
This attention to detail is what separates a DIY project from a professional installation. A smooth, well-finished surface will reflect light evenly and highlight the beauty of your new chair rail.
Troubleshooting Common Installation Errors
Even the most experienced carpenters encounter issues when working with trim. If you find that your miter joint is not closing correctly, don’t panic.
First, check if the wall itself is square. It is very common for residential walls to be slightly bowed or out of plumb, which can throw off your measurements.
If the wall is the problem, you may need to “scribe” your molding to fit the contour of the wall. This involves using a compass to trace the shape of the wall onto the back of the molding and then cutting along that line. It is a time-consuming process, but it is the only way to get a truly tight fit on a wall that is not perfectly flat.
Another common issue is the molding “popping” off the wall after a few weeks. This is usually caused by using the wrong type of fastener or not hitting the studs.
Always use a stud finder to locate the wall framing before you start nailing. If you cannot hit a stud, use a high-quality construction adhesive on the back of the molding to ensure it stays in place permanently.
Frequently Asked Questions
Is it necessary to use a transition block for chair rail?
No, a transition block is not strictly necessary, but it is highly recommended if you are a beginner. It simplifies the complex compound miter cuts into two simple butt joints, which reduces the chance of error significantly.
How do I measure the rake angle of my staircase?
You can use a digital angle finder or a sliding T-bevel. Place the tool against the wall along the path of the stairs to capture the exact degree of the slope. This is the angle you will use to set your saw for the transition cuts.
What is the standard height for chair rail on stairs?
There is no strict rule, but most designers recommend maintaining a consistent height of 30 to 36 inches from the nosing of each stair tread. This keeps the rail visually parallel to the stairs and ensures it is functional as a protective element.
Can I install chair rail over existing baseboards?
Yes, you can, but it is usually easier to install the chair rail first or to ensure that the chair rail does not interfere with the baseboard at the bottom of the stairs. If the two meet, you will need to create a clean termination point for both.
How do I fix a miter joint that has opened up?
Small gaps can be filled with a paintable, flexible caulk. If the gap is large, you may need to use a wood sliver and glue to fill the space, then sand it smooth and touch up the finish.
Transitioning chair rail trim down a slanted staircase wall is a rewarding project that adds a touch of elegance to any home. While the geometry can feel intimidating at first, breaking the task down into clear, manageable steps makes it entirely achievable for a patient DIYer. By measuring carefully, using the right tools, and taking your time with the final fit and finish, you can create a seamless transition that enhances the character of your staircase.
Remember that the quality of your work lies in the details, so don’t be afraid to redo a cut if it doesn’t look quite right. When you stand back and look at your completed staircase, the effort you invested in mastering the angles will be clear to everyone who walks by.